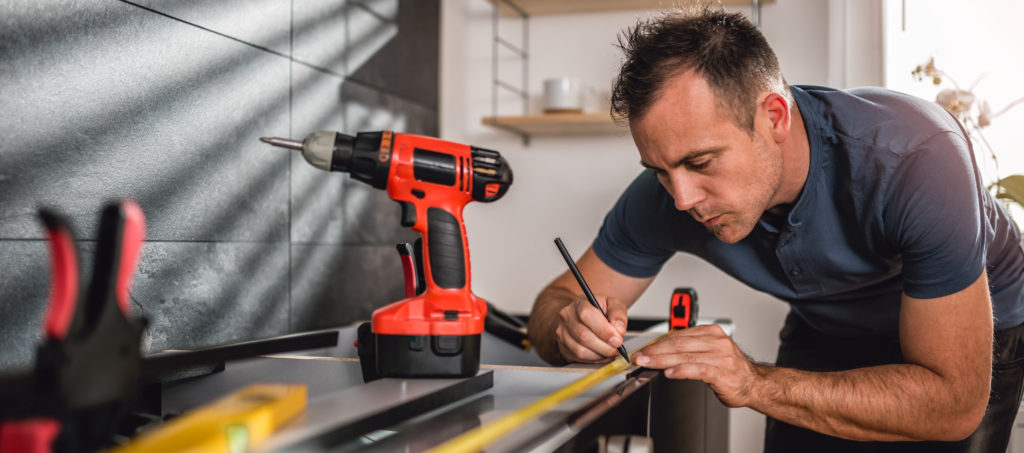
Here is a step-by-step process of how our experts here at Best Kitchen Countertops do to install a pre-made countertop in a way that will significantly enhance the look and overall function of your kitchen!
Step 1: Doing the Measurements
The size of a kitchen countertop is a crucial factor for its installation. Even before purchasing the countertop, accurate measurements must be taken first, specifically on the cabinet depth, the wall, and the backsplash height. The difficulty of the countertop installation process varies depending on the type of kitchen you have. If you have a U-shaped kitchen, then installing a countertop could require the skills of expert installers such as what we have here at Best Kitchen Countertops.

Step 2: Scribing
Setting up scribes along the adjacent wall (if any), as well as certain sections of the countertop, will help the installers for the cutting process later on. The goal is to establish cutoff lines that will guide the saw to make sure that it will perfectly fit the cabinets and the wall. Masking tape will be applied over the countertop edge to mark these cutoff lines

Step 3: Cutting the countertop
The cutting tool will depend on the material. A handsaw is enough to cut through the laminate, but solid rocks will require a specialized mechanical device. Using the cutoff line, the saw will trim the countertop to a length optimal for its installment. The trimmed edges will be filed to get rid of any rough spots.
Step 4: Fitting the countertop
Now that the counter is in the best shape to be installed, it’s time to set the counter to its place. The installer will check the fit and make sure that there will be no noticeable gaps between the mitered corner, as well as the wall.
Step 5: Securing the countertop
To keep the countertop from sticking to the cupboards, special adhesive will be put on specific edges, especially the miter. Miter bolts and screws in the required spots should be tightened afterward, and any excess adhesive shall be cleaned off the counter’s surface.
Step 6: Applying the return splashes
Once everything is in proper place, return splashes will be applied to the counter to provide a smooth aesthetic transition between the countertops and the wall.
Contact the Best Countertop Installation Service Provide in California!
If you’re interested in having a newly-installed countertop, visit our official website at https://bestkitchencountertops.com/appointment-form/ and schedule your appointment today! We can also let you visit our showroom by contacting us at 800-581-6178.
SERVICE AREAS
Quartz Countertops
- Quartz Countertops in Fullerton
- Quartz Countertops in Irvine
- Quartz Countertops in Orange County
- Quartz Countertops in Placentia
- Quartz Countertops in San Clemente
- Quartz Countertops in Yorba Linda
- Quartz Countertops in Aliso Viejo
- Quartz Countertops in Anaheim
- Quartz Countertops in Brea
- Quartz Countertops in Corona
- Quartz Countertops in Huntington Beach
- Quartz Countertops in Rancho Santa Margarita
- Quartz Countertops in Riverside
- Quartz Countertops in Tustin
- Quartz Countertops in Mission Viejo
Kitchen Countertops
- Kitchen Countertops in Aliso Viejo
- Kitchen Countertops in Anaheim
- Kitchen Countertops in Brea
- Kitchen Countertops in Corona
- Kitchen Countertops in Fullerton
- Kitchen Countertops in Hunting Beach
- Kitchen Countertops in Irvine
- Kitchen Countertops in Mission Viejo
- Kitchen Countertops in Orange County
- Kitchen Countertops in Placentia
- Kitchen Countertops in Rancho Santa Margarita
- Kitchen Countertops in Riverside
- Kitchen Countertops in San Clemente
- Kitchen Countertops in Tustin
- Kitchen Countertops in Yorba Linda

